Robot Arm Full Design
May 2018
Archived 📦Hardware Software DIYDescription
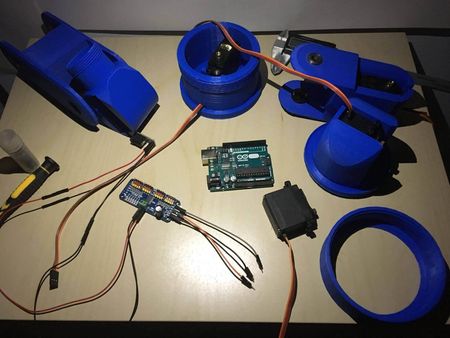
The goal of this project was to design, 3D print, assemble, and control a 4-link robotic arm. I've used an Arduino Uno with a servo shield and 4 servo motors.
Mechanical design
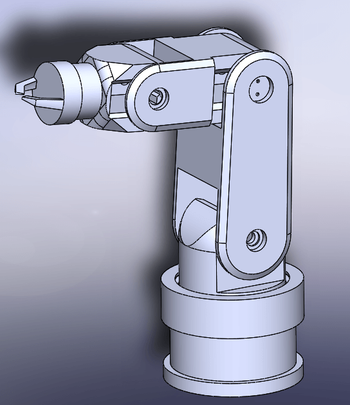
The first step was to sketch and design the 3D model of the robot, taking inspiration from real robot arms.

Assembly
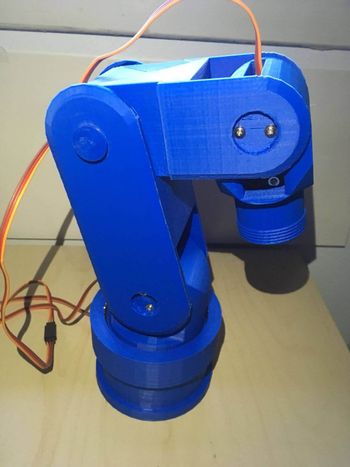
After many hours waiting for the 3D-printing to be finished I could go to the next step and start assemblying mechanical parts with electronics. Of course not everything fit together from the start and I had to adapt some parts and re-design and re-print some others. An important step was to make sure the servo motors were initialized and aligned in the "0" position.


Software and control
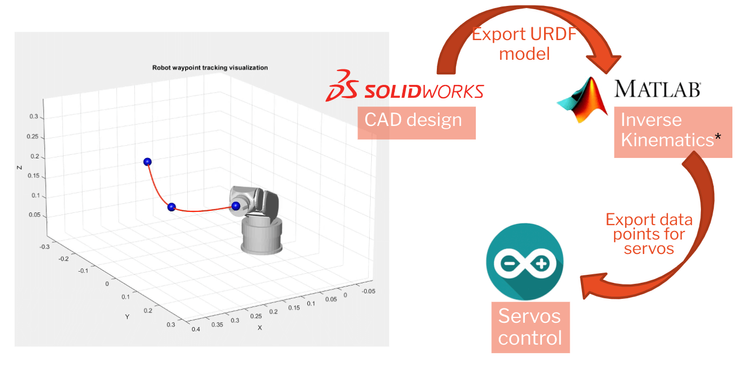
Like most robot arms, the goal was to make the end-effector follow a trajectory. The Arduino Uno is not powerful enough to run the matrix calculations required, so I've used MATLAB for the heavy computations. I imported the URDF file (which is a representation of the links and joints of the robot) from SolidWorks to MATLAB. Then, I used the Robotics System Toolbox to calculate the servo motors positions based on the inverse kinematics model of the robot.

What I Learned
It was quite fun to start from scratch on this project, but the mechanical design ended up being too complex, and that part alone took the majority of the time dedicated to the project. When testing the robot, I realized that my power supply didn't have enough current, so if all the servo motors were active at the same time, the power supply would shut off. Therefore, I had to pick the trajectories with this additional constraint.
Tools and Tech Used
Matlab, Arduino, C++, Solid Works, 3D printing.